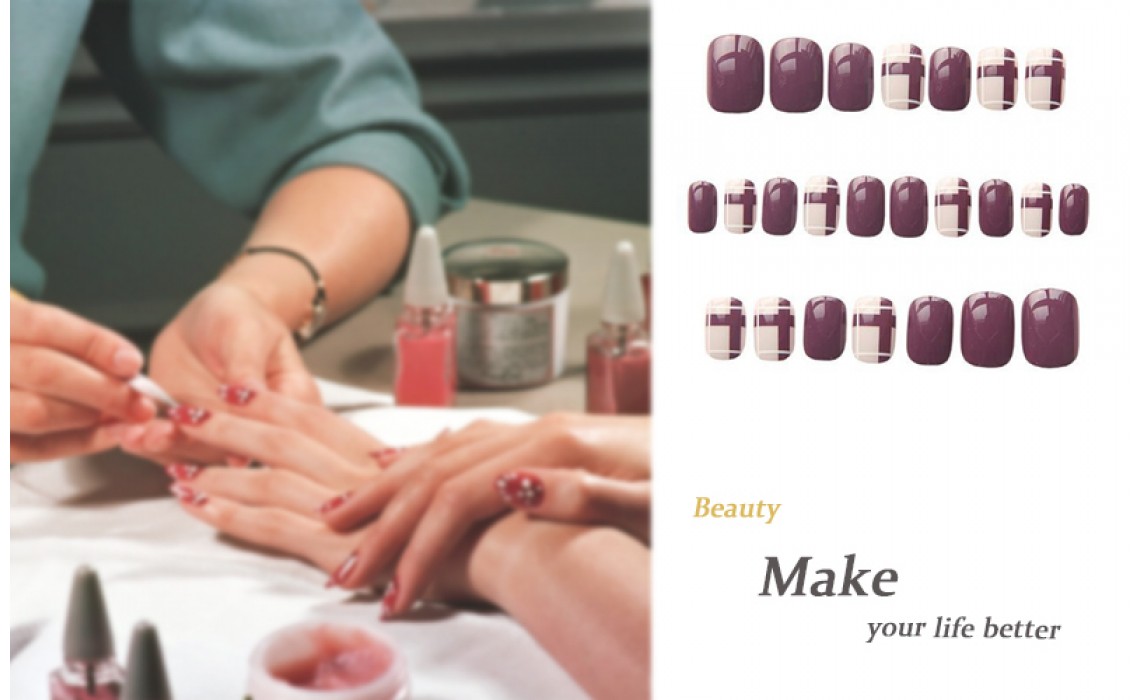
Manicure is a kind of work to decorate the nails, also known as the art design, which has the characteristics of diversified expressions.
Manicure is the process of disinfecting, cleaning, nursing, maintaining, modifying and beautifying the nail according to the shape, shape, skin and clothing color of the guest.

Manicure tools
️ nail phototherapy lamp
The general nail polish can be shaped by air drying, and the nail polish glue must be lighted to dry. Keywords: nail phototherapy lamp, 36W, 120 second timing
2 ⃣️ nail care tools
Slanted Nail Clipper: Trimmed A Type It is easier to cut out the desired type A with this flat nail clipper.
Nail Frustration: Adjusting the nail shape
Round head steel push: repair the dead skin on the upper end of the nail and use the flat nail clipper better.
Frustration can only be used to polish the edge of the nail. Do not use it on the nail surface. Rough strips will hurt the nail surface!
![]()
️ nail material
Balance solution: The first layer of the nail applied to the nail after the start of the nail is to dry the nail surface.
Removable primer: the second layer of nails. Apply a layer of removable primer to the base before applying the nail polish. Prevent the nails from turning yellow. The light can be colored in 15 seconds.
Color nail polish: nail protagonist layer A lot of brand selection on a treasure price is not the same Every coat needs to light 60 seconds
No-clean seal: After the color is applied, the final seal layer can make the nail polish gel brighter and fuller.
Removable primer and color glue will still stick when it is finished. It is not without drying. It is made of floating glue on the surface. It can be wiped with a piece of cotton dipped in gel water to remove the floating glue. It can also be directly used for the next step. After the lamp is finished, the nail surface is smooth and does not stick.
️ post-nail care
Finger oil: Apply nail to the edge of the nail. Gently massage to soften the dead skin. Prevent barb formation.
It’s best not to touch the water right away.
️Unloading tool
Unloading bag: It is similar to alcohol tablets. It is like a three-in-one of unloading liquid, unloading towel and tin foil. Open the mouth of the unloading bag. Insert the finger. Pack for a while.
Then use the round head steel to push the nail surface and push it to remove the colloid.
Wash hands with hand sanitizer after disposal
Apply hand cream or finger oil massage massage. Ok.
Manicure category
- Painted nail art: Use a special nail pigment such as “acrylic pigment” to paint the composition on the nail surface! Draw a variety of hand-painted patterns of flowers and plants landscape characters and so on.

2, patch manicure: with nail special glue, the full or half-stick piece attached to the nail surface, resulting in a long A-type, thus making up for the regret of the hand is not beautiful, the disadvantage is poor ventilation.

3, embossed manicure: carved with a carved three-dimensional pattern, embossed nail art is very artistic, generally in special occasions, such as weddings, banquets, shows, etc., thinking that carved A is more prominent, ordinary work and housework will Very inconvenient.

4, crystal nails: crystal and crystal powder to create a beautiful type A, plasticity can extend the nails, characterized by strong wear and tear, not easy to break.
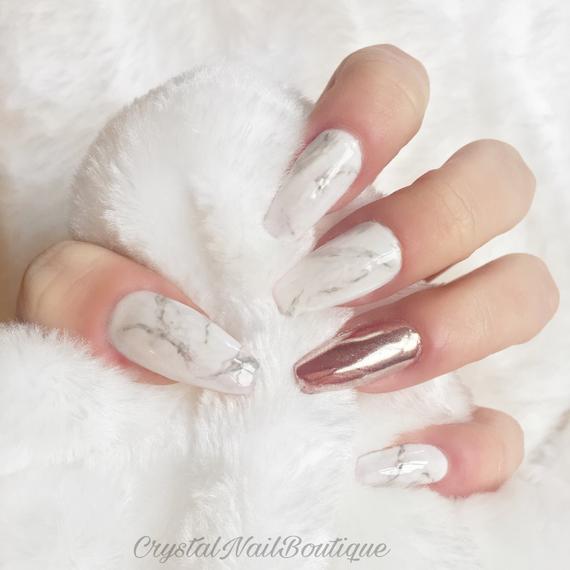
5, phototherapy nails: the use of ultraviolet light to polymerize the natural resin on the surface of the real nails, to make a tough and smooth nails. Not hurting the real nails can increase the strength of the nails. As long as the nail repair is done every two to three weeks, you can have a beautiful, crystal-clear nail. Even if you apply ordinary nail polish on weekdays, the nail polish will be The resin is made to make it easy to fall off and easy to take care of.

6, nail polish nail art: is a nail polish similar to nail polish is also baked with a baking lamp, but not as good as the color and hardness of phototherapy than the phototherapy retention time is shorter. About half a month.

Nail shape trimming
The most commonly used forms in life are: square, square, oval, pointed, round, and fan-shaped. You can create a perfect shape based on your hand shape and preferences.
■ 1. Square A: In general, square nails are personalized and lead the trend, not easy to break, more like professional women and white-collar workers and Westerners like.
■2. Square round nails: The rounded nails have straight front and side sides, and the corners are rounded. This kind of solid shape will give a soft feeling, and it is obvious to the joints. Customers with thin fingers can make up for the shortcomings.
■3. Oval nails: oval nails, starting from the free edge, to the front of the nail, the outline is oval, is a traditional oriental shape.
■ 4. Pointed nails: The pointed nails are easy to break due to the small contact area, while the Asians are thinner and not suitable for sharpening.
■5. Round: Suitable for people who have long slender hands and good fingers.
■6. Fan shape: common in water nails, can be squared, or square.
Nail Style
Basic monochrome
Applying a single-color nail polish, the first step in getting started with nails at home. Although nail polish is simple, some people don’t always paint well. In fact, it is because there are quite a few tips on it. Before applying colored nail polish, you must brush the base oil! Because it not only strengthens the nail surface, but also makes the color last longer. The most important thing is to protect the nails from attacking the nails. Before you start to apply the colored nail polish, you must scrape off the excess nail polish on the back of the brush head. Leave a layer on the front side. When you apply it, start brushing from the middle. You don’t need to use too much force. Keep the brush bar tilted forward. Then fill the gap between the left and right sides and try to control it within three strokes. Even if there are some corners, don’t brush it back and forth. Be sure to wait until it is dry before applying the second layer and then correct it. In order to prevent the fingertips from being knocked off, you will usually drag a circle at your fingertips and finally apply it. Top oil, so you can get a very full-color monochrome nails.

Cat’s eye
Cat eye nails are no different from ordinary monochrome nail polish coating methods. Just to make cat eye nails, you need special cat eye nail polish. The nail polish of the cat’s eye contains iron powder, which is also used with a magnetic plate (usually when you buy cat eye nail polish).
The specific coating method is as follows: firstly apply the single-color nail polish method, first apply the primer and the first layer, then, when applying the second layer, each time a nail is applied, the magnetic plate is placed on the nail for 10 seconds. . When you suck, you must be quick and accurate. If you are a little slower, you may fail. Finally, you must apply a top oil seal. Otherwise, the cat’s eyes will easily spread.
Gradient
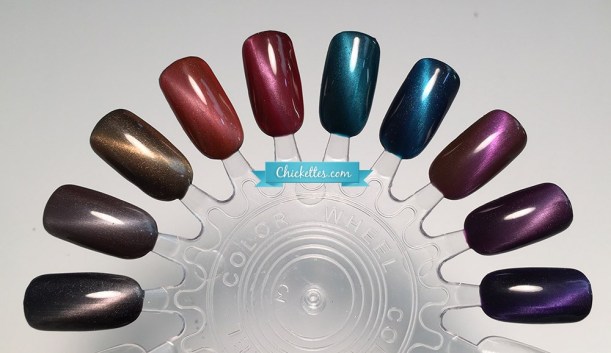
The secret to success in making a gradual nail is: a nail polish with a high transparency. Use this translucent nail polish on the nails to stack a gradual effect.
The steps to be done are not difficult. First, after the primer is applied, the first layer is only applied to the fingertips. When the first layer is dried, the second layer can be applied to the half of the nail, and then thinly Apply a third layer on the entire surface of the nail, and finally apply the top oil. A super girl’s gradient nails are finished. If there is no nail polish on the hand, you can use a makeup sponge to make a gradient like a stamp. But remember to use it with anti-overflow glue.
Splice
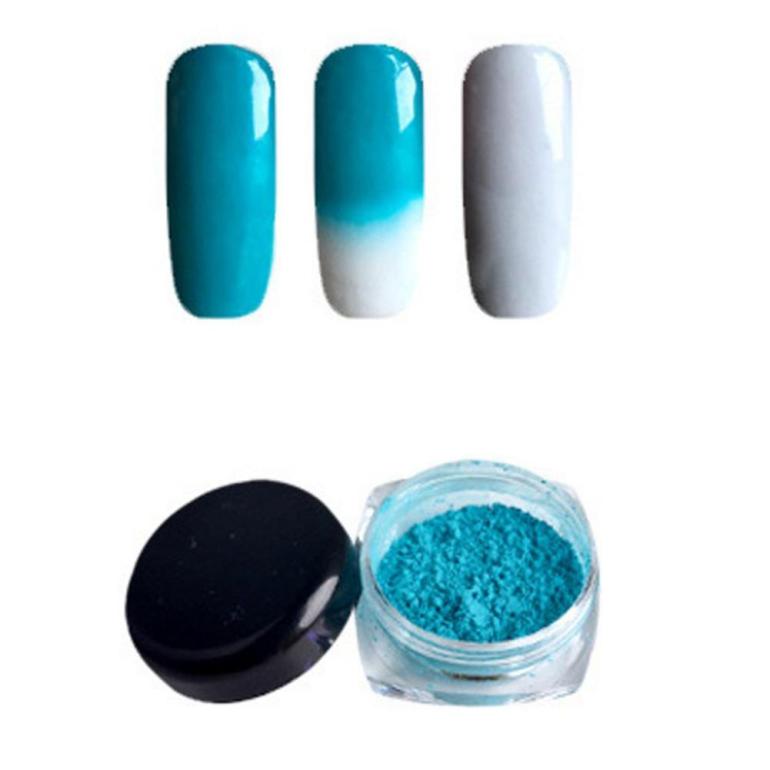
Stitching nails is a relatively popular nail art D.I.Y fancy, the main method is color block stitching. The simplest of these is the two-color stitching. To do two-color stitching, first give the nail a base color, and then wait for the background color to dry out, then use other colors to draw a half circle or bevel on the top, but the disabled friends do not have to panic, in fact, there are Different shapes of nail stickers can help you draw stitching blocks without having to tremble yourself. However, don’t be impatient with nail stickers. Be sure to wait until the second layer is dry and then tear it off. These stickers can also be used to make translucent French armor. The changes are quite a lot, and everyone can slowly explore.
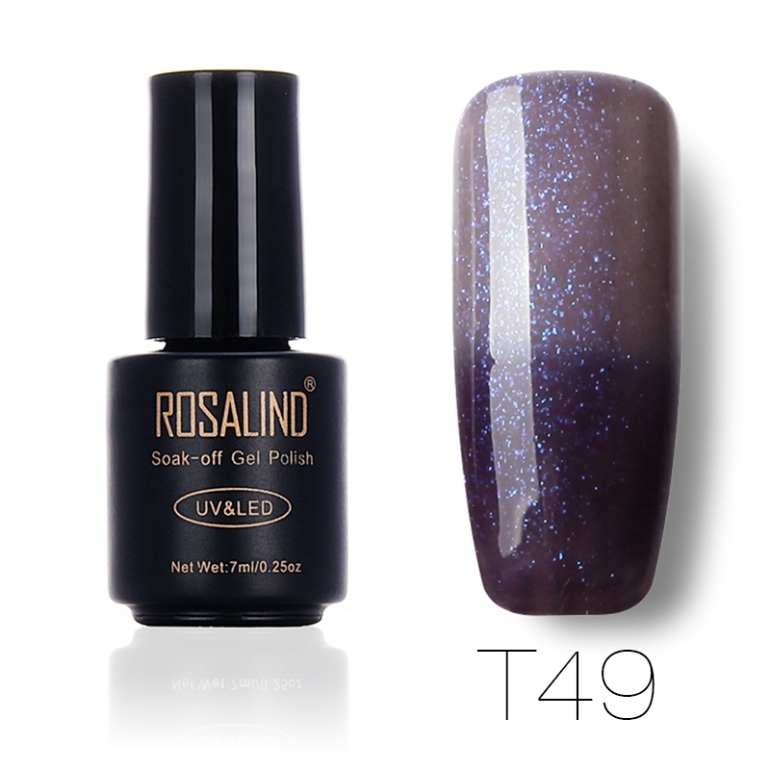
What else about art nail do you want to know, pls drop a comment below or write to us by:
Link to glamfields.blog
Related products
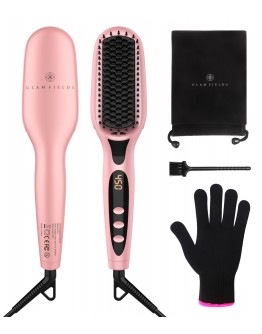
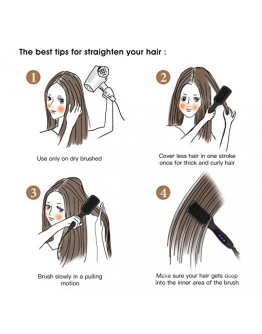
Production DescriptionDouble Negative Ions: The GLAMFIELDS hair straightening brush seals the hair cuticles and locks in your hair's natural moisture, to eliminate frizz, split ends, and knotting and adds shine, repairing the hair quality of harm, making a smooth, silky, natural lustrous look.Advanced MCH technology: Characterized by Heat Quickly, Save Energy, More Durable, Lasts Longer,it heats up within 30 seconds after boot, wider and denser comb tooth also decreases the time of straightening.16 Heating Modes: 16 heating modes (170℉-450℉) make it suitable for all hair types and volumes, and provide total control for all hair condition and styling needs. It is perfect for a whole family, adults or children, women, and men. You can always find the right settings with the GLAMFIELDS professional straightener.Easy To Use & Travel Friendly: Small Size with 360 rotating handle, which is easy to operate with one hand to reduce the pressure of the wrist, the international dual voltage 110-240V with extra compatible adapter perfect for travel and vacation.SAFETY IS GLAMFIELDS'S TOP PRIORITY- Powered by heat heat-resistant protective plate, heat-resistant glove, anti-burning shell, and 60 min auto-off, GLAMFIELDS guards your safety in every second. Use only on dry brushed;Please Note:If you leave the buttons still (unpressed) for 5 seconds, all buttons of the device are automatically locked; press the power button twice constantly to unlock.The Best Tips for Straighten Your Hair (IMPORTANT):❤ Use only on dry brushed; ❤ Cover less hair in one stroke once for thick and curly hair;❤ Brush Slowly in a pulling motion; ❤ Make Sure your hair gets deep into the inner area of the brush.Specifications: Heater: Metal Ceramic Heater (MCH)Temperature range: 330°F to 450°FWarm-Up Time: 30 secondsAutomatic Shutoff: 30 Minutes360°Rotate Swivel Power Cord: YesVoltage: 120–240V ACFrequency: 50 -60 HZPower: 45W Package Including:1 x Hair Straightening Brush1 x Heat Resistant Glove1 x Cleaning brush1 x Cloth Bag1 x User Manual..
Add to CartGLAMFIELDS Electrical Heated Irons Hair Straightening brush1. GLAMFIELDS Updated Version. Negative Ions for Your Healthy Hair ---The GlAMFIELDS Hair Straightener Brush releases rich negative ions that give your hair a smooth, silky, natural lustrous look by sealing the hair cuticles- reducing frizziness, split ends, and knotting. Most important, our straightening brush will give you natural healthy silky looks rather than flat burnt look, which is easy to manage anytime and anywhere.About the product2. Faster Heating with Advanced MCH Technology --- 30-40 Seconds Heat Quickly, less than one minute. MCH(Metal Ceramic Heater) is new heating standard for hair appliance. Compared with traditional straightener brush, such as PTC heaters, our ceramic straightening brush saves energy, more durable, lasts longer, significantly reduces overall straightening, hair styling time. And with wide and dense brush tooth, it straightens your hair quickly.3. 12 Adjustable Heat Temperatures Levels --- The GLAMFIELDS hair straightening brush offers 12 different temperature setting from 250°F to 450°F, and fulfill all your needs for various hairstyles and conditions, including thin, thick, curly, fine, bleached and wavy. LED screen display shows the temperature function.4. Auto Off & Auto Temperature Lock --- This straight hair brush is equipped with the auto shutdown and temperature lock features to ensure maximum security and optimum performance at all times. Temperature lock ensures that there is no abrupt rise in temperature that can harm the hair. The electric hair brush auto shuts off if it is not used for continuously 30 minutes thereby preventing any energy wastage and prolonging the life of the machine as well.5. Easy to Use & Travel-Friendly--- Small Size with 360 rotating handle, which is easy to operate with one hand to reduce the pressure of the wrist, the international dual voltage 100-240V with extra compatible adapter perfect for travel and vacation. [Warranty: Our GLAMFIELDS supports 3 months Money Back and 1-year guarantee and friendly, easy-to-reach support.]Achieve the Sexy & Mysterious, Beauty You want!GLAMFIELDS Hair Straightener Brush with Faster Heating MCH Ceramic Technology & Double Negative IronsDo you take a long time to manage your hair every day thus wasting your time?Most hair straightening brushes take a long time to heat up. If you get your hair straightened through a flat iron means spending hours in front of the mirror until you get it finally done! Steal away the moisture? Burns accidentally? It maybe can lead to weakened hair, split ends? It is so bad! Our GLAMFIELDS hair straightener brush can help you do your cluttered hair and make a clear look within 10 minutes before going out. Better hair protection!Why Choose US?---Heat up quickly, Preserves natural moisture, Keeps the volume of the hair intact, Better hair protection, Safe for use.---No time wasting, No fatigue at Salon, No burning on your hair, No pain No hurt to your scalp and hands.---The straightening brush releases rich negative ions that give your hair a smooth, silky, natural lustrous look by sealing the hair cuticles- reducing frizziness, split ends, and knotting. With MCH technology, it heats up within only 30-40 seconds thus saving time and energy.---Anion Technology: Straighten Your Hair, Eliminate frizz, Add Shine. Infrared rays lock in your hairs natural moisture and give your hair a smooth, silky, natural lustrous look by sealing the hair cuticles.Specifications:●Negative Ions-Hair Protection●Heater: Metal Ceramic Heater (MCH), 30 seconds heat up quickly●Auto Shut Off & Auto Temperature Lock Function(30 Minutes)●12 Adjustable Temperature Setting for different hairstyles.●Suitable for all kinds of hair condition and hairstyle●Temperature Range: 250°F ~ 450°F / 120℃ -230℃●Anti-Scald Comb Teeth●360°Rotate Swivel Power Cord●International Voltage: 120–240V AC●Frequency: 50 -60 HZ●Power: 68WInnovative technology, Fashionable Design & EfficiencyMCH Technology & Professional Ceramic CombHeat Quickly, Save Energy, More Durable, Lasts Longer, The Advanced MCH technology can heat up within 30~40 seconds,wider and denser comb tooth dramatically also decrease the time of straightening.Universal dual voltage 110-240Vto deliver the same outstanding performance perfect for travel and vacation around the world.Safe & Anti-ScaldDesigned with a circle of non-heated teeth around the hairbrushhead to prevent scalding; each heating tooth has an anti-scald tip so to avoid damaging the scalp or skin when using the brush. Our GLAMFIELDS straight hair brush also comes with an anti-scald glove included for added safety.360 Swivel Power CordThis compact straightening brush comes with a 360 rotating handle that helps you operate with one hand with utmost convenienceTemperature ControlThe Glamfields ceramic straightening brush offers four different temperature levels for you to choose from. You can set the temperature levels on the brush from 170 degree Celsius to 230 degree Celsius to meet your styling needs.The Best Tips for Straighten Your Hair (IMPORTANT):♚ Not waterproof. Don't immerse it in water or clean it under running water. You can use a brush stained with alcohol and clean.As alcohol is highly volatile, it disappears quickly and does not cause damage to the instrument in any manner.♚ There is residual heat after using the device, so it is best to keep it in the open for some time before storing it safely.♚ When the LCD shows "LOC", it means that the buttons are locked, you need to double-hit the power button to unlock.Then you can adjust the temperature or press the power button for 2-3 seconds to switch off.♚ According to the multi-volume and curl of hair, there would be necessary to divide the hair into handful clumps for straightening.Easy to Use, Compact Size, Perfect for TravelingNegative IonsRich negative ions can be eliminating frizz, split ends, knotting and adds shine, repairing the hair quality of harm. Make a more natural smoother and healthier look compare to the flat burnt one...
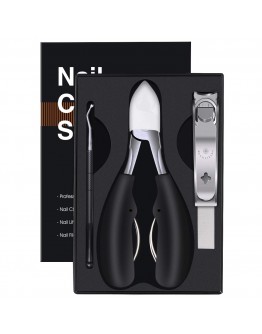
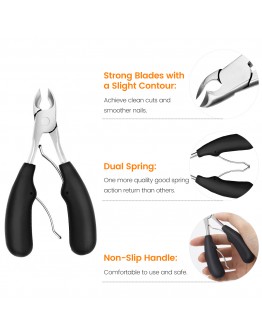
Add to Cart【Extended Size & Easy to Use】: A larger size, plus a comfortable non-slip grip, allows for effortless and easy usage. The curved blade's edge creates the best fit along with the shape of nails, you can precisely trim your fingernails and toenails.【Razor-Sharp Blades】: Through repeated sharpening and polishing procedures, the blade edges of the nail clipper are perfectly aligned against each other, with no gaps in between. Nails are sleek and smooth after clipping, with no more tearing or jagged nails, thanks to the remarkably sharp blades.【Anti Splash Nail Clipper】: Fingernail clipper with catcher which features a storage box design to prevent nails from splashing everywhere in process of nails clipping for easily clean them up and keeping your room neatly.【Sharp & Precise Curved Blades】: Sharp stainless steel blades allow you cut with little effort to cut thick toenails and will not tear or split nails, With the precise curved nail clipper blades edge makes more easily trimming nails smoothly and well-groomed for your fingernails or toenails. Easily and perfect clipping in every time!【Perfect After-Sales Service】: If GLAMFIELDS nail clipper has any defects or if you are not satisfied with it, we will refund or ship you a brand new nail clipper...
Add to Cart


-60x76.jpg)
-60x76.jpg)


